DIY Alterations: Simple Steps for a Perfect Dress
DIY Alterations: Simple Steps for a Perfect Dress
In the world of fashion, finding the perfect dress can sometimes feel like an impossible task. Whether it’s a special occasion, a night out, or just a casual day, having a dress that fits you perfectly is essential. Thankfully, with some basic DIY alterations, you can transform an ordinary dress into a tailored masterpiece. In this article, we will guide you through simple steps for making DIY alterations to your dress. Let's dive in!
Understanding the Basics of DIY Alterations
Before we jump into the practical steps, it’s important to understand some basic terminology and tools you'll need. Familiarize yourself with the following terms:
| Item | Description |
| Measuring Tape | A flexible ruler used to take measurements of different parts of the dress. |
| Fabric Scissors | Sharp scissors specifically designed for cutting fabric without fraying. |
| Sewing Needles and Thread | Used for hand stitching the fabric together or making adjustments. |
| Sewing Machine | A convenient tool for making quicker and more precise alterations. |
| Tailor’s Chalk | Used for marking fabric before cutting or sewing. |
Step 1: Gather Your Materials
To embark on your DIY alteration journey, collect all necessary materials mentioned above. A well-stocked sewing kit will make your project smoother and more efficient.
Step 2: Measure Your Dress
The first practical step in DIY alterations is taking accurate measurements. Use a measuring tape to measure around your bust, waist, and hips. Record these measurements and compare them to the size chart of the dress. This will help you identify the areas that need alterations.
Step 3: Marking the Dress
Once you have your measurements, put on the dress and use tailor's chalk to mark areas that need adjustments. If the dress is too loose, mark where the new seams will be. If it’s too tight, note where fabric can be added or adjusted. 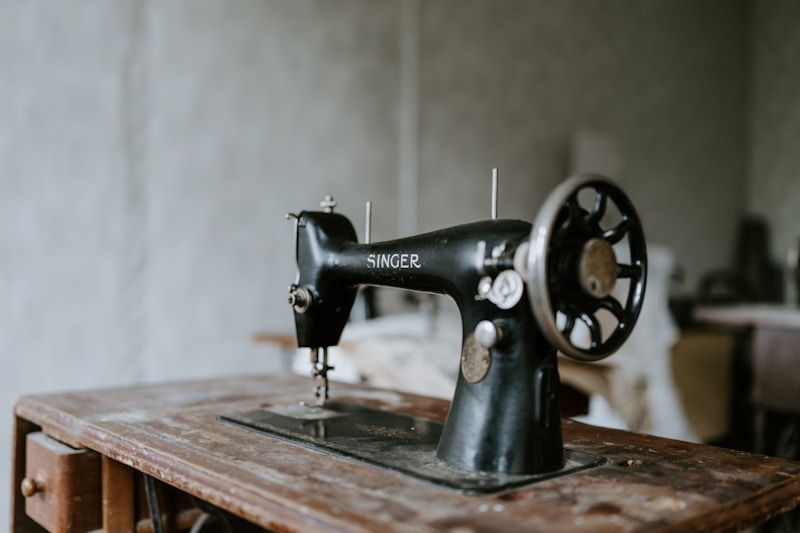
Step 4: Making Adjustments
Depending on the areas that need alteration, choose from the following common modifications:
- Taking in the Sides: To make a dress fit snugly, pin the side seams and sew along the marked line. Use your sewing machine for a neater finish.
- Letting Out a Dress: If your dress is too tight, you can let it out if there’s enough seam allowance. Simply unpick the stitches and re-sew the seams at a larger size.
- Shortening or Lengthening the Hem: To adjust the length, measure how much needs to be taken off or added and cut accordingly. Sew a new hemline using a straight stitch.
Step 5: Fitting and Final Adjustments
After making your alterations, try on the dress to check the fit. Make minor adjustments if necessary. Don’t rush this step; a perfectly fitted dress can make all the difference.
Step 6: Finishing Touches
Once you're satisfied with the fit, finish the edges of the fabric to prevent fraying. You can use a zigzag stitch on a sewing machine or hem the edges by hand. Iron the dress for a polished look.
Common DIY Alteration Questions
While undertaking your DIY alterations, you might have some questions. Here are a few common queries:
- How much can I take in or let out? - Generally, you can take in or let out about 1 to 2 inches in the side seams, depending on the fabric and seam allowance.
- Can I alter a lined dress? - Yes, you can alter lined dresses, but it may require additional steps to ensure the lining fits well with the main fabric.
- What if I make a mistake? - Don’t worry! Most mistakes can be fixed. Simply undo the stitches using a seam ripper and try again.
Conclusion and Tips for DIY Alterations
While DIY alterations may seem daunting at first, following these simple steps can help you create a perfectly fitting dress that enhances your style. Always take your time, precisely measure, and don’t hesitate to try different adjustments. Remember that practice makes perfect, and soon, you’ll be altering your dresses like a pro!
Additionally, when looking for sewing materials, shop local fabric stores or explore online options for quality fabrics, patterns, and tools. Happy sewing!
By following the steps outlined above, you can successfully tackle your DIY alterations and enjoy wearing a dress that not only fits you perfectly but also reflects your personal style. Don't forget to share your DIY journey with friends and inspire them to attempt their own alterations!
