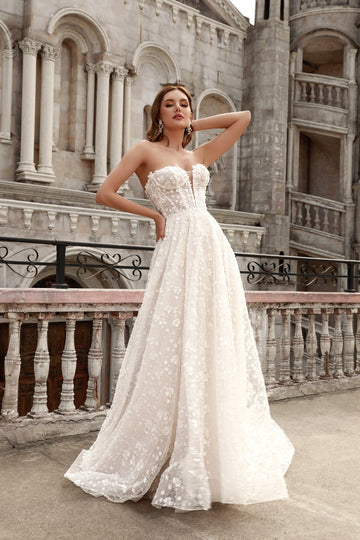
Ultimate Guide to Custom Bridal Gown Design Steps: Crafting Your Dream Wedding Dress
Ultimate Guide to Custom Bridal Gown Design Steps: Crafting Your Dream Wedding Dress
Planning a wedding can be one of the most exciting yet stressful experiences in a person's life, and the right wedding dress plays a crucial role in making that day memorable. If you've decided to opt for a custom bridal gown, understanding the essential steps involved in its design will ensure that you get the dress of your dreams. This guide aims to walk you through the critical Custom Bridal Gown Design Steps, from initial conception to the final fittings.
Understanding Custom Bridal Gown Design
Before diving into the steps, it’s important to grasp what a custom bridal gown design entails. Unlike off-the-rack dresses, custom gowns are designed specifically for you, allowing for complete personalization in style, fabric, and fit. This process not only provides you with a unique gown but also allows you to showcase your personality and style on your special day.
Step 1: Research and Inspiration Gathering
The first step in designing your custom bridal gown is gathering inspiration. Browse through bridal magazines, social media platforms like Pinterest and Instagram, and online bridal boutiques to find styles and elements that resonate with you. Create a mood board that encapsulates your vision using images, color swatches, and fabric samples.
Step 2: Setting Your Budget
Budget is a significant consideration when designing a custom bridal gown. Typically, custom gowns can range from $1,000 to over $10,000, depending on the designer’s reputation, the intricacy of the design, and the materials used. Be honest about your budget during consultations with designers, as this will help in making decisions that will affect both the design and fabric choices.
Step 3: Finding the Right Designer
Your designer is crucial to the custom gown experience. Look for designers who specialize in custom bridal wear and examine their portfolios. Personal recommendations and reviews can provide insight into a designer's style and reliability. Schedule consultations to discuss your vision, see samples of their work, and gauge their ability to understand your unique style.
Step 4: Initial Consultation and Sketching
During the initial consultation, communicate your vision clearly to your designer. This includes discussing the various elements you want to include, such as silhouette, neckline, and embellishments. The designer will take notes and might sketch a preliminary design or several options based on your discussions.
| Design Elements | Examples |
| Silhouette | A-line, Ball gown, Mermaid |
| Neckline | Sweetheart, V-neck, Off-the-shoulder |
| Embellishments | Lace, Beading, Appliques |
Step 5: Fabric Selection
The fabric you choose greatly influences the look and feel of your gown. Visit fabric stores with your designer for swatches of various materials. Common choices include satin, lace, chiffon, and organza. Consider the season of your wedding and the comfort of wearing specific fabrics throughout the day.
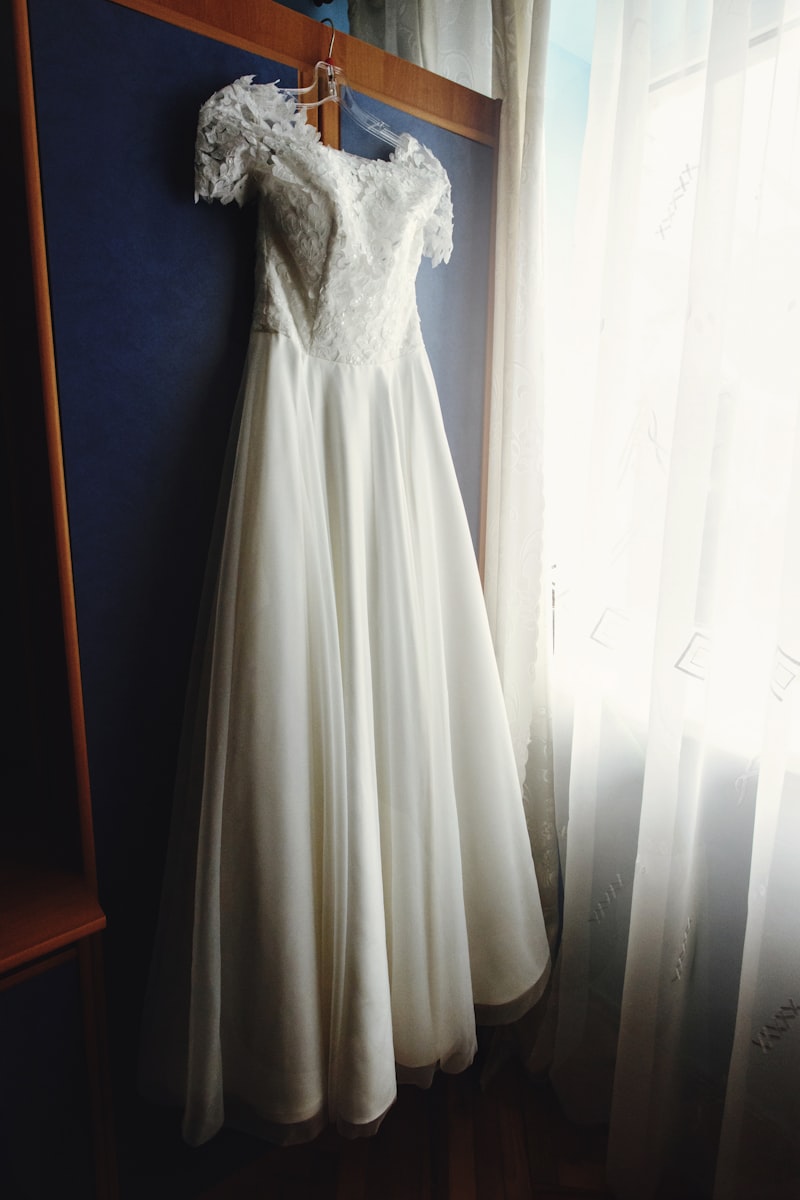
Step 6: First Fitting
Once the design is finalized and the fabric selected, your designer will begin constructing your gown. The first fitting usually occurs several months before the wedding date, allowing time for adjustments. During this fitting, wear the gown and provide feedback on fit and comfort. Notate any changes needed, as this will set the stage for subsequent fittings.
Step 7: Subsequent Fittings
Most brides will have at least two additional fittings. These fittings focus on making adjustments to ensure the gown fits perfectly. Pay attention to details like bust support, waistline, and overall length. This is also the time to discuss any last-minute adjustments or additional embellishments.
Step 8: Final Fitting
The final fitting is your chance to see the gown in its complete form. Ensure you have your bridal shoes on to check the length, and bring any undergarments you plan to wear on your wedding day. This fitting should affirm that everything feels just right, enabling you to visualize walking down the aisle in your dream dress.
Step 9: The Big Day Delivery
Your designer will ensure that your gown is ready and perfect for the wedding day. Discuss the pick-up time, and always have a backup plan for any last-minute adjustments. It may also be beneficial to have the gown professionally steamed to eliminate any wrinkles before you wear it.
Step 10: Enjoying Your Wedding Day
On your wedding day, embrace every moment in your custom gown. Enjoy the compliments and the admiration of friends and family as you walk down the aisle, knowing you have a dress that represents your vision and individuality. Don’t forget to take special photographs showcasing the intricate details of your gown.
Conclusion
Designing a custom bridal gown is an exciting journey that involves careful consideration and collaboration with your designer. By following these Custom Bridal Gown Design Steps, you can ensure that your gown will not only be unique but also a true reflection of your personality. Always remember to communicate openly with your designer, remain within your budget, and most importantly, enjoy the process. Your wedding dress is a staple memory that will last a lifetime. Embrace each step of the journey, and let your gown be a vivid representation of your love story.
**Tips to Remember**:
- Start early: Custom gown design can take several months, so begin the process well before your wedding date.
- Document everything: Keep records of your designs, decisions, and adjustments.
- Stay true to yourself: Your gown should reflect who you are; don't feel pressured to follow trends if they don't resonate with you.
- Communicate: Maintain open communication with your designer for a smooth process.